


I recently just completed a Coursera course on GCP Fundamentals and this gave me more opportunity to explore additional tools provided by Google Cloud Platform.
Shall we begin..
Setup VM Instance with Static IP
Google Compute Engine delivers virtual machines running in Google’s innovative data centers. We’ll be deploying an instance in Google’s infrastructure and assigning a Static IP address to it.
What’s a Static IP?
A static external IP address is an external IP address that is reserved for your project until you decide to release it. If you have an IP address that your customers or users rely on to access your service, you can reserve that IP address so that only your project can use it.
Creating a VM Instance + Static IP
Login to your GCP Console, click on the Navigation Menu and Scroll down to Compute Engine section, hover your mouse over it and Select VM Instances.
Click on Create Instance and enter desired values / use defaults as below:

Please do not click on Create yet, let’s go ahead and setup a Static IP for our instance. We’ll proceed by clicking Management, security, disks, networking, sole tenancy.
After collapse of the additional options, Select the Networking Tab and click on the edit icon on Network interfaces (we’ll be editing the default).
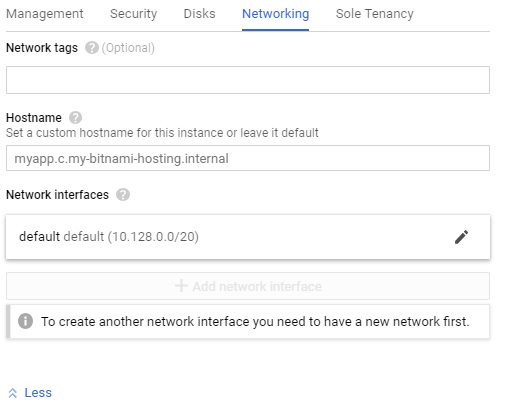
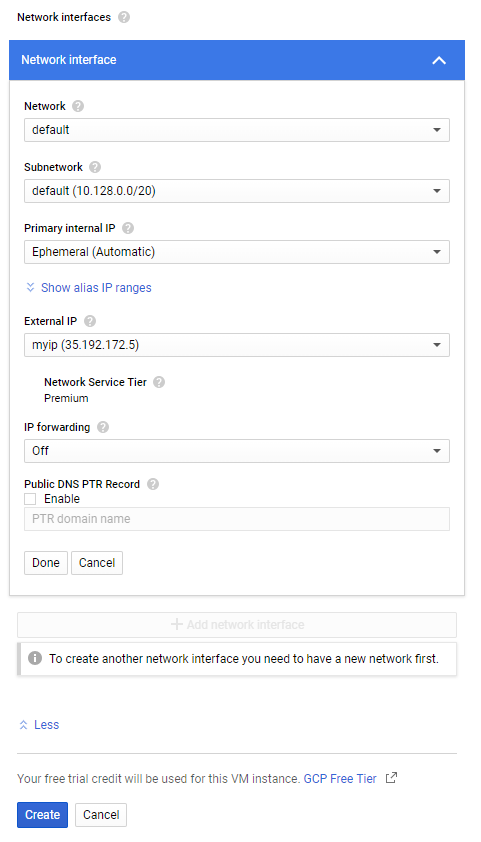
On the new collapse form we get, click External IP drop-down and change from Ephemeral to Create IP Address, on the dialog box that gets popped up, enter a name for your static IP (leaving other fields as default) and click on Reserve.

Good job, you should now have a collapsed form similar to what I have below, go ahead and select Create (our VM instance would get created with a Static External IP)
What is Cloud SQL?
Cloud SQL is a fully-managed database service that makes it easy to set up, maintain, manage, and administer your relational databases on Google Cloud Platform. You can use Cloud SQL with either MySQL or PostgreSQL.
Creating a Cloud SQL Instance
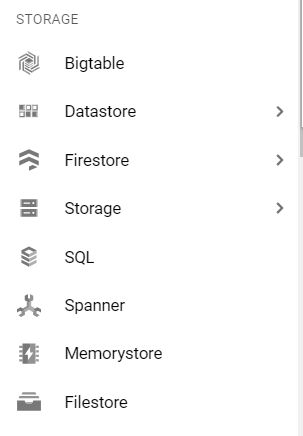
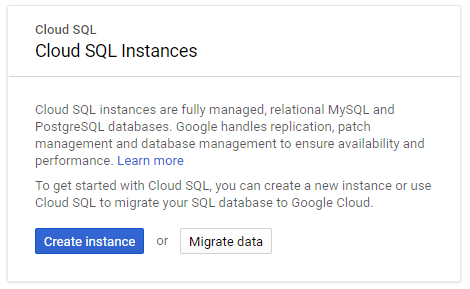
On your GCP Console, click on the Navigation Menu and Scroll down to Storage section and finally click SQL.
You’ll get a dialog box, go ahead and select Create Instance.
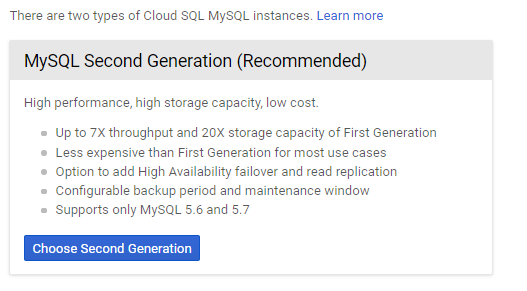
Select MySQL and Choose Second Generation
Go ahead and input your desired Instance ID, Root Password and Zone.
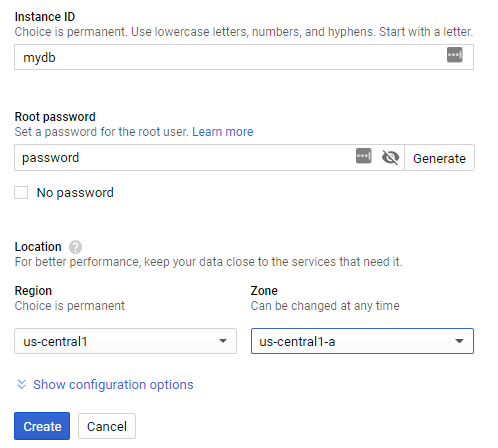
Click on Create and sit back as your Database Instance gets created with all necessary configurations done by Google Cloud Platform.
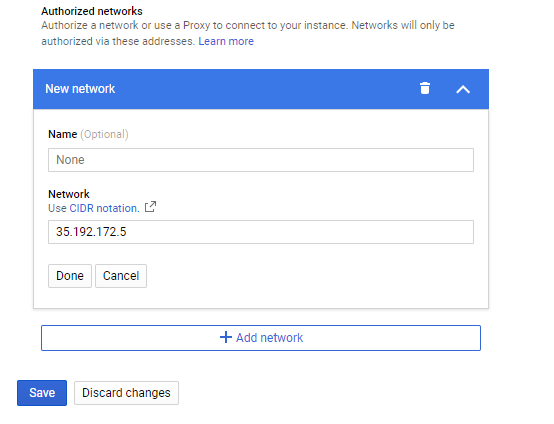
Add an authorized network
Click on the name of the newly created Cloud SQL Instance then Click the Connections tab.
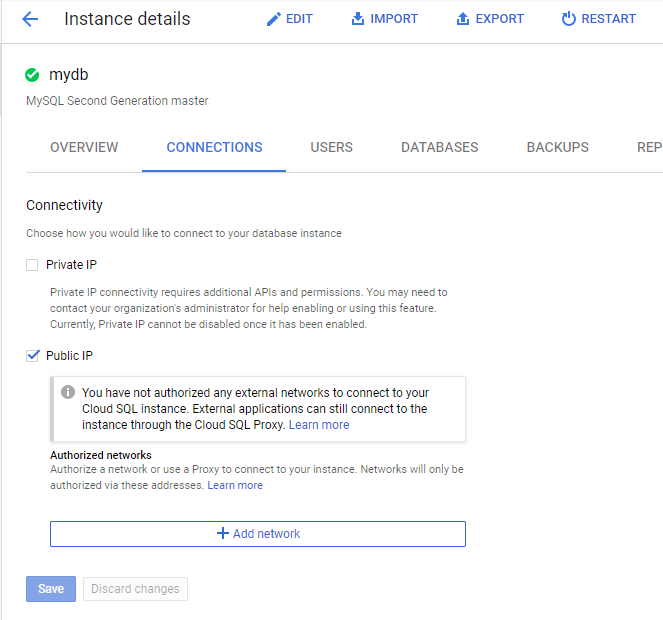
Click Add network and enter the static IP address of your VM instance created earlier, then Click Done and Save.
Testing Connection to Cloud SQL instance with a MySQL client from VM Instance.
On the detail page for our Cloud SQL Instance, take note of Public IP
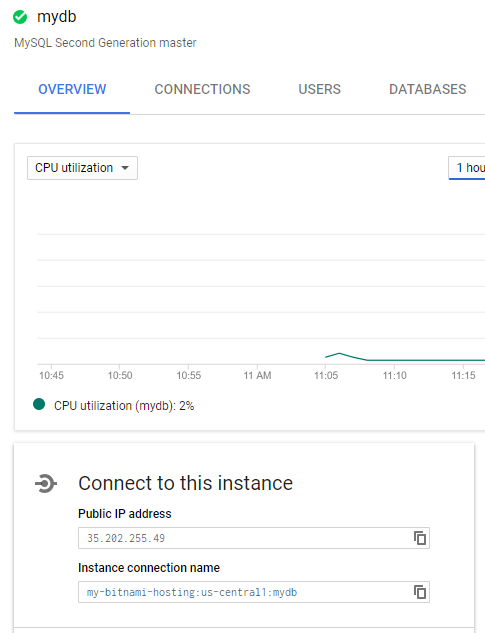
Let’s return to our VM Instance and test our connection.
Click on the Navigation Menu > Compute Engine > VM Instances.
On our created VM, Click on SSH, this would open a new window with SSH connection to our VM instance.

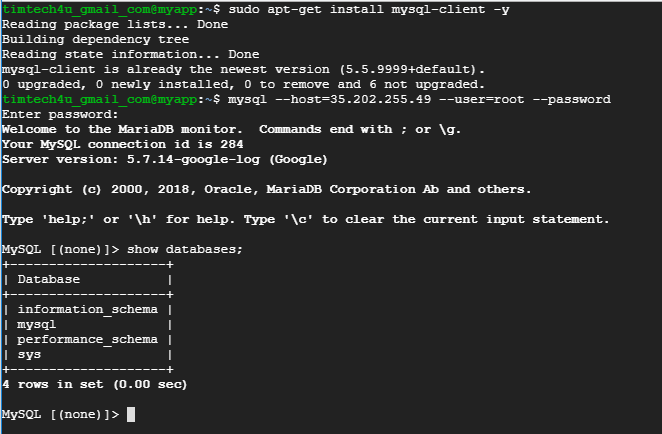
On the SSH window, execute the following commands, remember to change 35.202.255.49 to your own Cloud SQL Instance’s Public IP.
sudo apt-get update
sudo apt-get install mysql-client -y
mysql — host=35.202.255.49 — user=root — password
You’ll get a password prompt, enter the password used when creating the Cloud SQL Instance, if correct, you’ll get connected to your SQL Instance.
Awesome! Thanks for reading. 😀 For more guides, checkout the Google Cloud Documentation.
Also, Google Cloud provides $300 for first timers, so feel free to get started using GCP. 🕺
Shout out to Developers Student Club. ✋